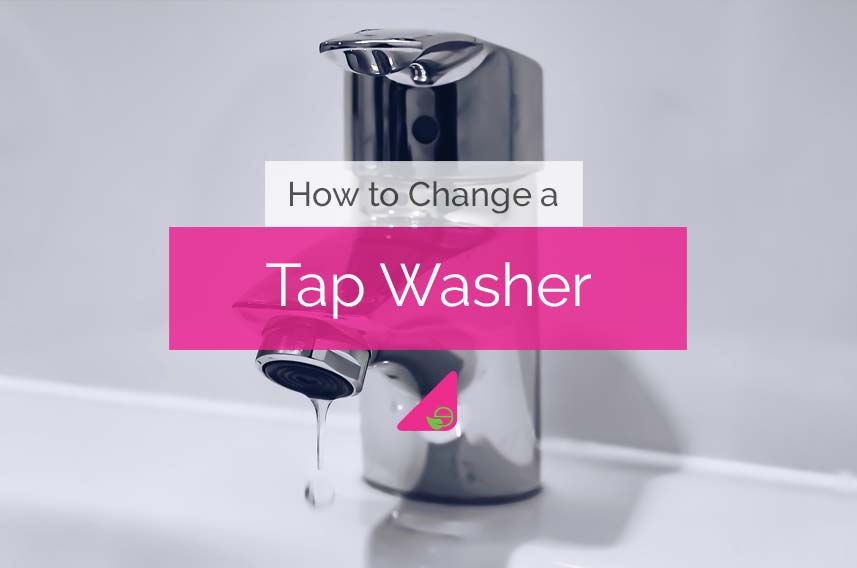
How to Change a Tap Washer
A constantly dripping tap can be a nuisance.
Not only is the drip drop sound irritating, it also wastes a huge amount of water over an extended period of time.
So whether your concern is simply the annoyance or the wasted water, it’s not something you should leave unfixed.
Luckily in most cases, the constant dripping can be resolved easily as the reason is most probably just a worn out washer.
In the following chapters, we’ll explain step-by-step how to change a tap washer so you don’t have to put up with that annoying dripping sound any longer.
Table of Contents
What Causes a Constantly Dripping Tap?
First of all you need to understand that a typical tap will have two main parts that control the flow of the water, namely the seat and the tap washer.
When the tap is turned on, the washer will be directed away from the seat.
Thus the pressure that results will force the water to flow through the hollow tap and make its way out of the spout.
Conversely, when the tap is turned off the washer will be pushed against the seat, thereby creating a watertight seal that will not allow the water to flow.
In most cases the tap leaks because the internal washer has become worn or damaged.
As a result, the tap washer will not be managing to create a watertight seal in the pipework, and hence some water will still get through.
Why Replace a Tap Washer?
Letting the tap drip or trying to tighten it up will not solve the problem.
It’s best to replace the tap washer as in the majority of the cases it’s the sole reason behind the constant dripping problem.
And in truth it’s not that hard to carry out this task as you will see below when we explain how to go about it.
Where to Locate a Tap Washer
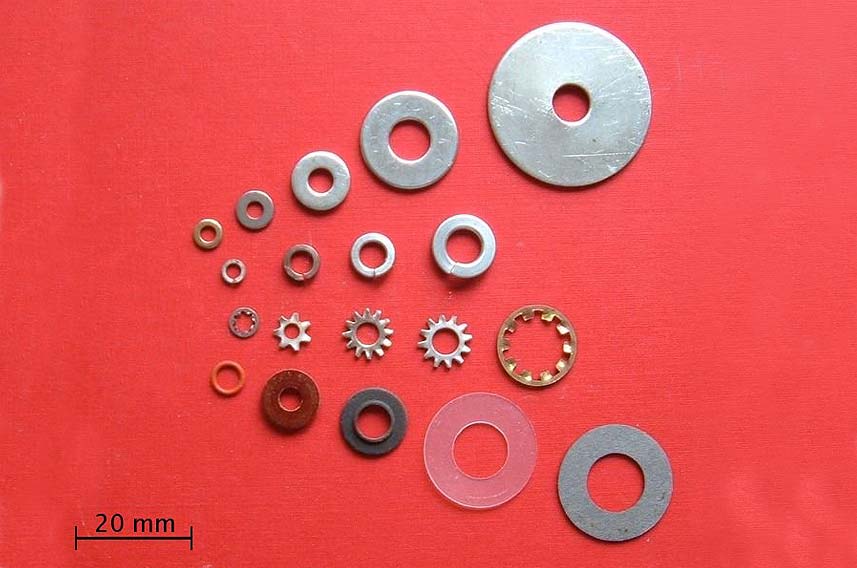
Taps are made up of a seat and a tap washer.
The latter is responsible for the flow of the water as it moves when the tap is turned on and off.
The tap washer is located just underneath the valve which you will see when the tap head is removed.
Tools & Materials
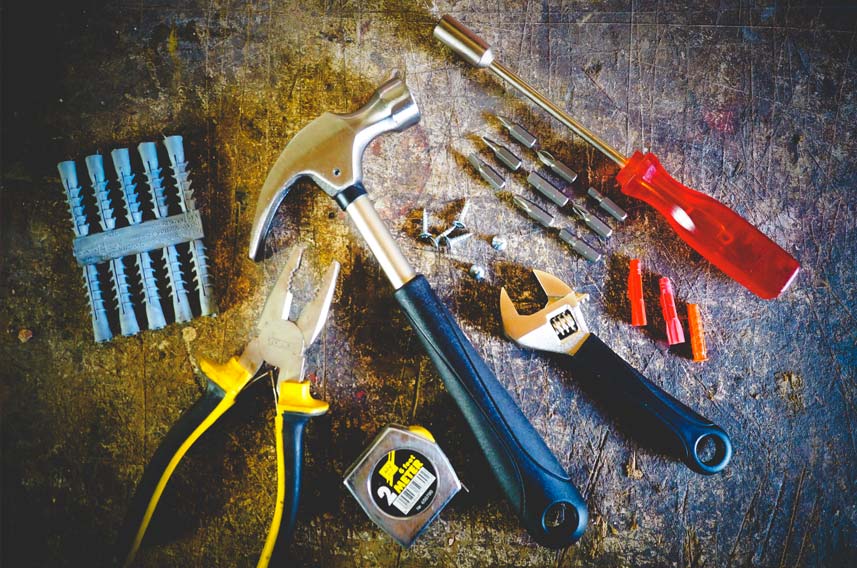
You will need the following to change a tap washer:
- New washer
- Flat-head screwdriver
- Crescent wrench
- Adjustable pliers
- Needle-nose pliers
- Towel
How to Replace a Tap Washer
The following is a step by step guide to replacing a tap washer.
The steps outlined below are suitable for standard taps, so check the type of tap you have first.
Step 1: Cover the Drain
First of all, put the plug in the basin waste.
Whilst you’re working, it’s highly likely that critical parts or components may drop into the basin.
So plug the hole to prevent anything slipping down the drain.
Also, place a towel in the basin or bath to prevent any damage occuring.
Step 2: Switch Off Mains Water
Turn off the mains water supply.
You may have an isolation valve, also known as a stopcock underneath the tap, to turn off the mains water.
You should run the kitchen tap until the water flow ceases completely.
Step 3: Remove Tap & Undo Valve
Using a flat-headed screwdriver, remove the top from the tap.
Be careful when doing this as you do not want to leave marks.
Generally there’s a screw that holds on to the tap head.
If that’s the case, unscrew it to remove the tap head and expose the valve.
You may need a spanner or wrench to do this.
Step 4: Replace the Washer
Once the valve has been removed there will be the washer visible underneath.
It will be secured in place either with a nut or a screw.
Once you remove it, replace it with a new washer, making sure it’s of the same size and specification.
In some cases the washer may press into an indentation located at the bottom, or it may slide over the end of the stem and in a channel.
Whilst you’re at it, you can take the opportunity of cleaning off any limescale and other debris that’s present.
You can use some steel wool to do this easily.
Then wipe away with a paper towel.
Step 5: Reseat the Tap & Tighten
Once the tap washer has been replaced, screw the valve back into place.
Avoid over tightening it as it could damage the rubber gasket.
Then fasten on the tap body and the top.
Turn the water supply back on again to check if the leaking has stopped.
In case there’s still a leak, then the problem might be a rutted or damaged tap seat.
If that’s the case, you may wish to contact a professional plumber for help or replace the tap entirely.
How to Prevent Leaking Taps
Taps with ceramic discs are less likely to drip as they are more hardwearing.
Even though they still comprise washers, they’re far more resilient to wear and tear.
So you may wish to consider investing in this type of tap to avoid such problems.
It’s also best to inspect the valve whilst you are in the process of changing the tap washer.
In some cases the valve may also be worn or scored.
As a result, the seal that should be created between the washer and the seat will not be ideal.
Hence the valve may need to be changed as well.
Conclusion
As you can see, changing a tap washer is not an overly complicated process and is a fairly simple and straightforward DIY task.
You do not need any expert knowledge or tools that are hard to come by to do it.
So finally you can get rid of the constant dripping that was bothering you.
If the problem persists then the issue may be more complicated than a simple worn out washer.
If so, you may need to contact a commercial plumber to inspect and repair the fault tap.