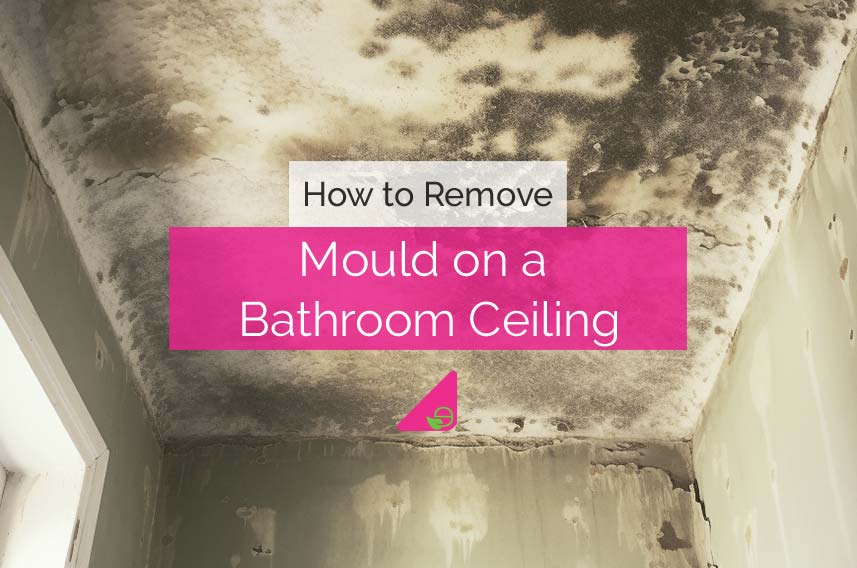
How to Remove & Prevent Mould on a Bathroom Ceiling
Mould on a bathroom ceiling can be a frustrating and unsightly issue for many homeowners.
The humid environment of bathrooms, combined with poor ventilation and occasional water splashes, provides the perfect breeding ground for mould.
Not only is it an aesthetic concern, but it can also have health implications.
In this article, we’ll explore what mould is, why it’s so prevalent on bathroom ceilings, and the best methods to remove and prevent it.
Table of Contents
What is Mould?
Mould is a type of fungus that thrives in damp and humid conditions, making bathrooms, basements, and poorly ventilated areas ideal breeding grounds..
It reproduces through tiny pores that are invisible to the naked eye.
These spores can be found both indoors and outdoors and are harmless in small quantities.
However, when conditions are right, mould spores can multiply and form visible patches.
Mould comes in various colours, including black, green, yellow, brown, or white.
The colour often depends on the mould species and the nutrient source it’s feeding on.
For instance, the notorious black mould, Stachybotrys Chartarum, is dark green to black and can be found growing on surfaces like bathroom ceilings.
Another common mould, Aspergillus, can be yellow, green, brown, or black.
While mould is a natural part of the environment, its presence indoors can lead to various health issues, including respiratory problems, allergies, and skin irritation, as well as a lingering damp, musty smell.
Why is Mould on Bathroom Ceiling such a Common Issue?
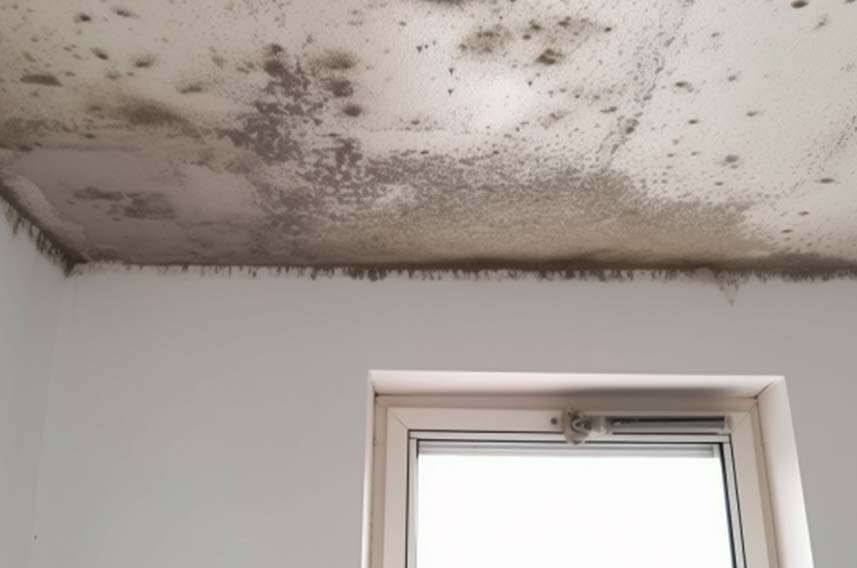 Mould on bathroom ceilings is a common problem due to the specific conditions found in most bathrooms.
The main factors contributing to this issue include:
High Humidity and Warmth
Bathrooms inherently harbour high humidity levels due to the regular use of hot showers and baths.
The warmth from these activities creates an ideal breeding ground for mould.
Warm, damp air provides the perfect conditions for mould spores to settle and grow.
Inadequate Ventilation
Many bathrooms suffer from inadequate ventilation systems.
Stale, damp air gets trapped inside, unable to escape.
Without proper airflow, moisture accumulates, forming condensation on walls and ceilings.
Stagnant air becomes a haven for mould, allowing it to thrive and spread.
Water Splashes and Moisture Buildup
Daily activities in bathrooms involve water, leading to inevitable splashes.
These water droplets often land on the ceiling, providing additional moisture for mould to flourish.
Over time, these continuous water splashes create persistent damp spots, facilitating mould growth.
Organic Material
Bathroom ceilings often consist of organic materials like paint, drywall, and ceiling tiles.
When these materials become damp, they serve as a food source for mould.
Mould’s love for organic matter means it readily feeds on these surfaces, accelerating its growth and making the bathroom ceiling an ideal habitat.
Neglected Maintenance
Regular maintenance, including repainting or repairing damaged ceiling surfaces, is essential in preventing mould.
Neglected or ageing paint can peel, providing an easy entry point for moisture.
Unattended leaks in roofs or pipes worsen the situation, allowing water to seep into the ceiling and create a nurturing environment for mould colonies.
How to Remove Mould on Bathroom Ceiling
Removing mould on a bathroom ceiling requires a little preparation.
The most effective method is as follows:
Safety First
Safety is paramount when dealing with mould removal.
Prioritise your well-being by donning protective gear: sturdy gloves, a mask that covers your nose and mouth, and safety goggles.
These items act as your first line of defence against mould exposure.
Adequate ventilation is critical; therefore, open windows and doors to establish a constant flow of fresh air.
Proper ventilation not only helps dissipate fumes from cleaning agents but also reduces the concentration of airborne mould spores.
Gather Supplies
A well-prepared toolkit significantly influences the effectiveness of your mould removal efforts.
Collect essential items such as a sturdy bucket, a mild detergent or dish soap, a variety of scrubbing brushes (from soft to firm, depending on the severity of the mould), and a reliable fungicidal cleaner.
Alternatively, harness the power of natural solutions by mixing water with either white vinegar or hydrogen peroxide.
Both these options are not only eco-friendly but also highly effective against mould.
The natural acidity of vinegar and the oxidising properties of hydrogen peroxide make them potent allies in your fight against mould.
Isolation
Before you begin the cleaning process, it’s crucial to isolate the mould-infested region meticulously.
Enhance the ventilation in the space by opening windows wide and activating any available exhaust fans.
The goal is to create a consistent, controlled airflow that helps disperse fumes and airborne particles.
Prevent cross-contamination by meticulously covering the floor and any nearby fixtures with heavy-duty plastic sheeting.
This meticulous covering acts as a protective barrier, preventing spores from spreading during the cleaning process.
Pre-Cleaning
Prior to deep cleaning, initiate the process by employing a specialised brush or a vacuum cleaner equipped with a HEPA filter.
This preliminary step is essential for eliminating loose mould spores and surface growth. However, exercise caution and a gentle touch.
Overly aggressive brushing might inadvertently disperse spores into the air, exacerbating the issue you’re trying to resolve.
Using a vacuum cleaner with a HEPA filter ensures that the captured spores remain trapped, preventing their escape back into the environment.
Cleaning
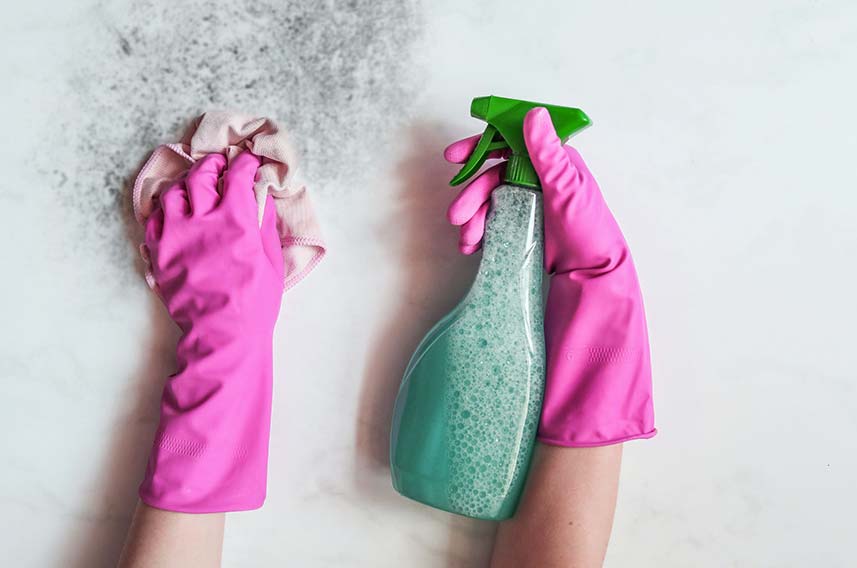 Armed with your chosen cleaning solution, adhere to the manufacturer’s guidelines for accurate dilution and application.
Whether you opt for a commercial fungicidal cleaner or a homemade mixture of water and natural agents like white vinegar or hydrogen peroxide, apply the solution generously to the affected area.
Use a cloth, sponge, or a brush appropriate for the surface to scrub the mouldy area gently.
The goal is to ensure the cleaning solution permeates the mould thoroughly, breaking it down for easier removal.
Rinse and Dry
Post-cleaning, it’s imperative to rinse the cleaned area meticulously with clean water.
This step removes any residual cleaning solution along with dissolved mould particles.
Thorough drying is the final touch.
Moisture is mould’s best friend; a well-dried surface becomes significantly less inviting to mould spores.
Adequate drying also prevents the accumulation of residual moisture, which could otherwise foster future mould growth.
Inspect the cleaned area diligently for any lingering signs of mould.
If you notice even the slightest traces, repeat the cleaning process until the surface is entirely free from mould, ensuring a comprehensive and effective removal process.
How to Prevent Mould on Bathroom Ceiling
Preventing mould on a bathroom ceiling is an effective method of ensuring your home is safe.
Prevention is better than a cure, as the saying goes.
The best way to prevent mould on a bathroom ceiling is as follows:
Improve Ventilation
Adequate ventilation is a cornerstone in the battle against mould.
Proper air circulation deters moisture buildup, making it challenging for mould to take hold. Utilise fans strategically, especially during and after showers and baths.
These fans swiftly expel humid air, reducing the moisture content in the bathroom.
Consider installing a dehumidifier for an extra layer of protection.
Dehumidifiers are incredibly effective in lowering overall humidity levels, creating an environment that’s inhospitable to mould growth.
Fix Leaks
Leaks are major contributors to excess moisture, providing mould with the ideal conditions for growth.
Act promptly upon discovering any water leaks.
Conduct thorough inspections of your plumbing system, roof, and the seals around windows and doors.
Even minor leaks can escalate into significant problems, so a vigilant eye and swift action are your allies in preventing mould-friendly conditions.
Mould-Resistant Materials
When renovating or repairing your bathroom, invest in mould-resistant materials.
Opt for mould-resistant drywall or paint for your ceiling.
These specially designed materials are crafted to withstand moisture, creating an inhospitable environment for mould spores.
By fortifying your bathroom with these materials, you’re building a robust defence against potential mould growth.
Regular Cleaning
Regular cleaning is a proactive measure against mould on a bathroom ceiling.
Even in areas not prone to mould, it’s essential to maintain cleanliness.
Prepare a preventive cleaning solution by mixing white vinegar or hydrogen peroxide with water.
These cleaning agents have mould-inhibiting properties.
Use this mixture to clean your bathroom ceiling periodically, ensuring that any potential spores are eradicated before they can establish a foothold.
Natural Light
Natural light is a formidable ally in your battle against mould.
Sunlight possesses natural antibacterial and antifungal properties, hindering the growth of mould.
Ensure your bathroom receives ample natural light.
During the day, keep blinds or curtains open, allowing sunlight to stream in.
By embracing natural light, you’re not only illuminating your space but also creating an environment where mould struggles to thrive.
It’s a simple yet highly effective preventive measure that works in harmony with your other strategies, forming a comprehensive defence against mould on your bathroom ceiling.
Conclusion
Mould on a bathroom ceiling is a common issue, but with the right approach, it’s manageable and preventable.
Understanding the conditions that lead to mould growth, along with effective removal and prevention methods, allows you to maintain a clean and healthy environment.